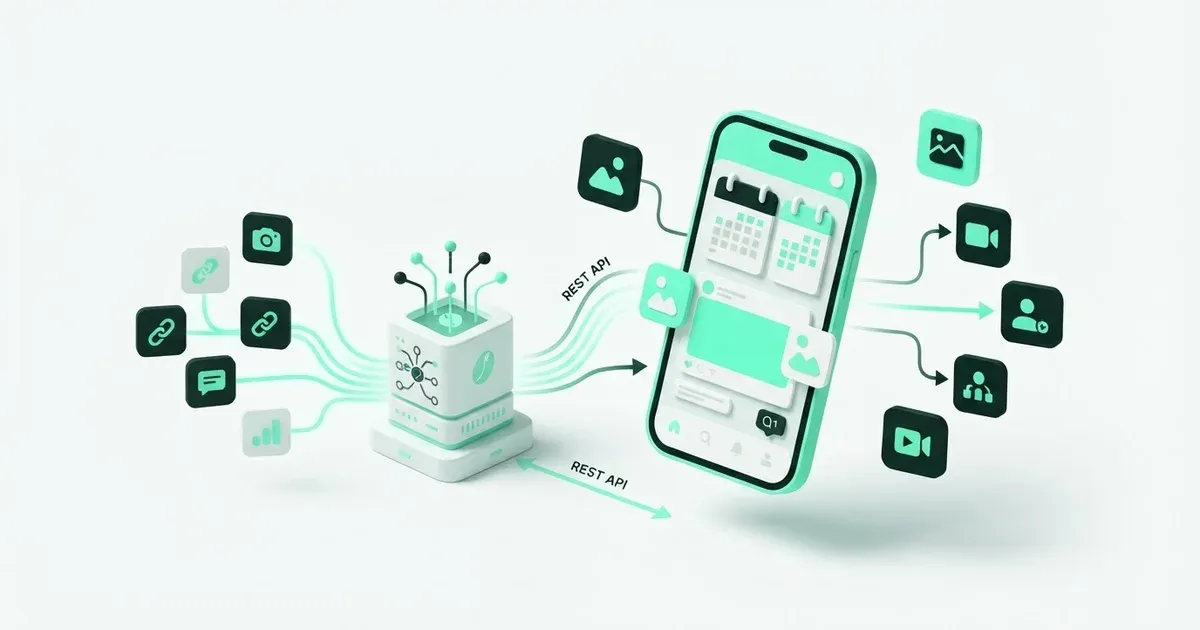
If you already work in a client such as Claude Code or Cursor, the Postbean MCP server gives it tools for working with your social posts. If you’re writing an integration yourself, use the REST API to make requests directly. Both use a Postbean API key tied to a workspace. Start by getting the connection to read something real before you let it write anything.
Create a key for the job
- Open Settings → Developers in Postbean and check the developer access options for your account.
- Create an API key for the workspace you want the integration to use. A key for one workspace isn’t a shortcut into another.
- Choose the permissions, also called scopes. To test the connection,
accounts:readis enough to list connected accounts. Addposts:readif the client needs to look up posts. Leave write permissions off a reporting key. - Copy the token when it’s displayed. Postbean only shows the full token once. Keep it out of shared documents and source control, and revoke it if it’s exposed or no longer needed.
Choose scopes by what the client needs to do, not by who is using it. drafts:write covers writes, including scheduling operations; it isn’t a read-only or review-only permission. The dedicated publish-now action uses posts:publish, and deleting posts uses posts:delete. If the integration needs different permissions later, issue a new key with the right scopes.
See it in the app
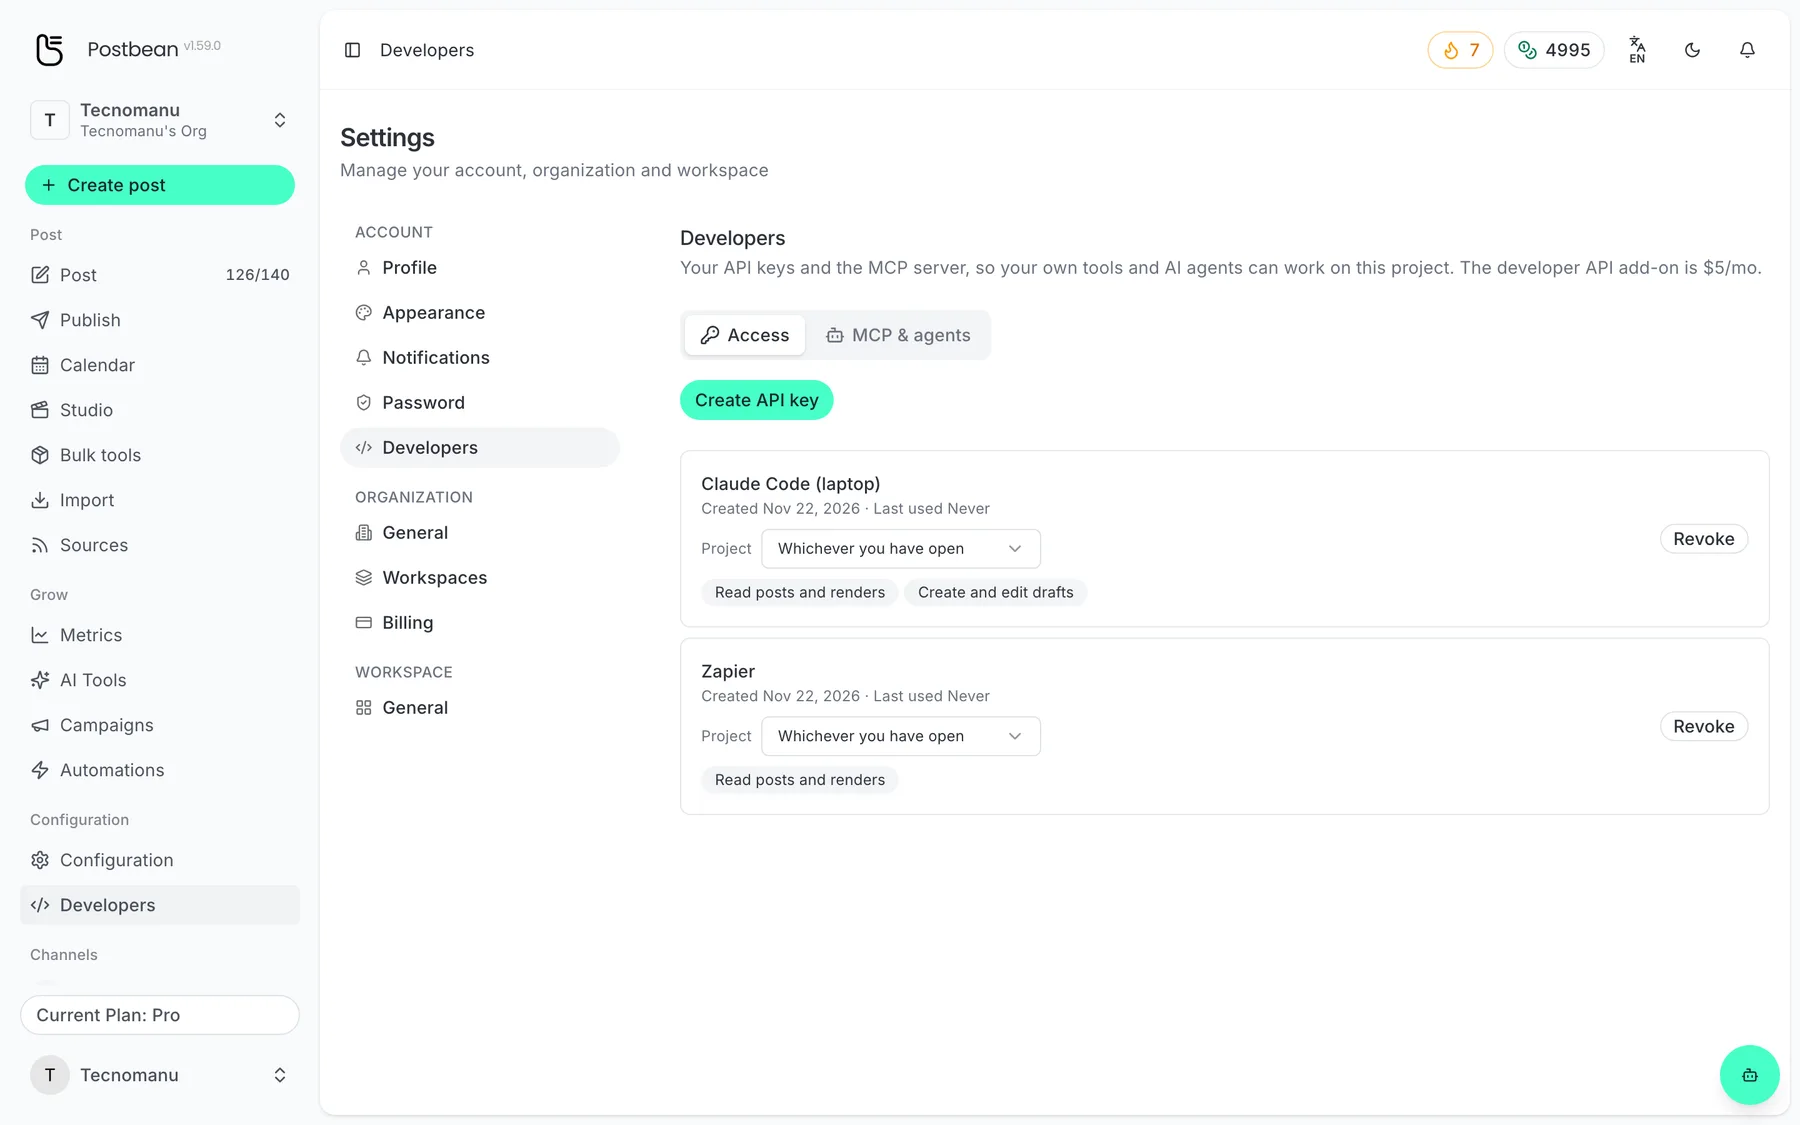
API keys with a scope per capability.
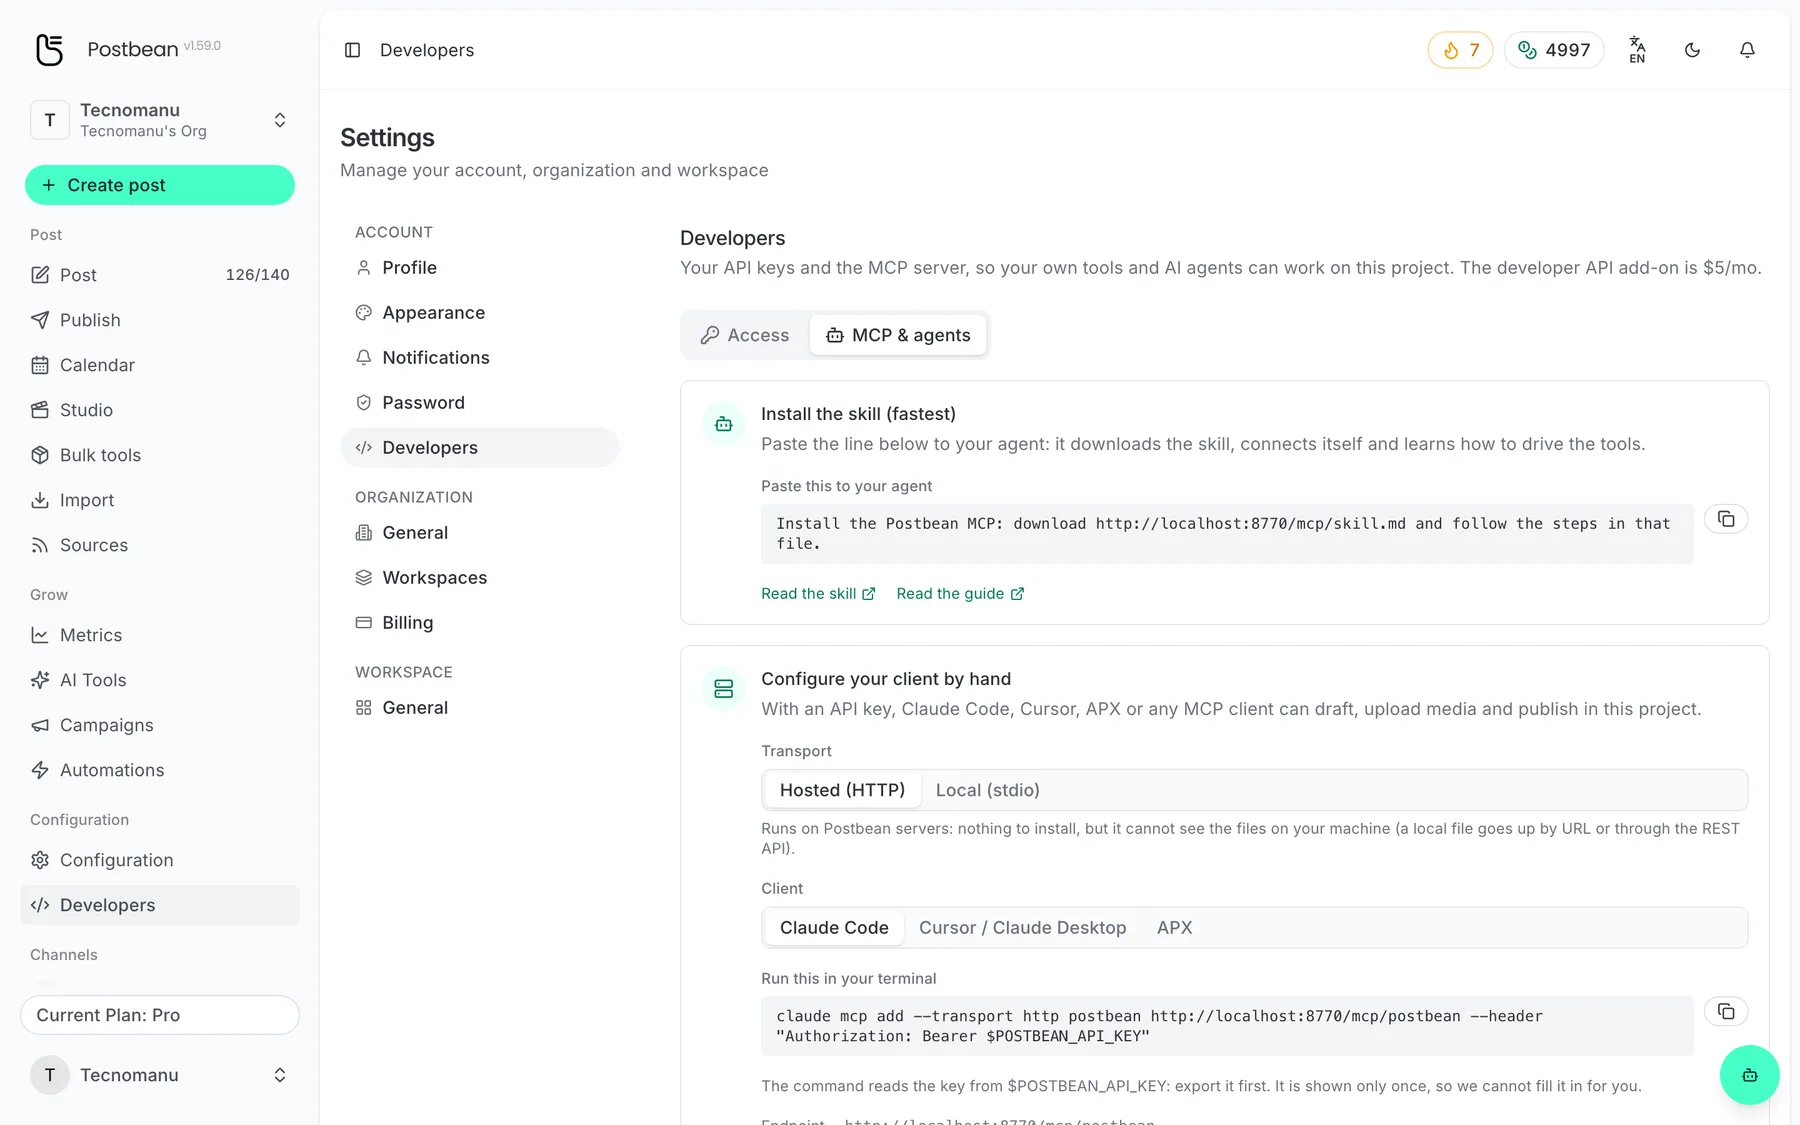
Connect Claude Code, Cursor or any MCP client.
Connect over MCP
Use hosted MCP if the client can connect to an HTTP endpoint and doesn’t need to read files from its own computer. Set its MCP URL to https://postbean.app/mcp/postbean and send the header Authorization: Bearer YOUR_TOKEN, replacing the placeholder in your client’s configuration. Ask the client to list connected accounts and compare the response with your workspace. If the tools don’t show up after you’ve configured them, restart the client and check again.
For a client running on your computer that needs to open local images or videos, use the stdio package. Configure the command as npx -y @postbean/mcp and pass the key via POSTBEAN_API_TOKEN. You’ll need Node.js 18 or newer. The MCP setup guide has configuration examples for both transports.
The hosted server can’t open a path on your laptop. Both transports can use a public media URL; the download happens in the background. If a file shouldn’t be public, use local stdio or send the bytes through REST: request a signed upload URL, upload to it, and register the uploaded media. Postbean’s upload caps are 8 MiB per image and 100 MiB per video; individual networks can impose further limits.
Use REST when your own code runs the workflow
Send the same bearer header on requests to https://postbean.app/api/. For a first test, call GET /api/social-accounts with a key that has accounts:read. Then check that the returned accounts belong to the workspace you meant to connect. The REST API guide lists the main areas you can work with, from account data to media and posts.
When the integration is ready to create posts for review, explicitly create a draft. Check the returned status before recording success in your own app. Keep the post ID so the next change edits the existing post rather than making a duplicate. Review the selected account, the caption for each network and required platform settings in the composer. If you schedule through the integration, verify the date and time zone: a timestamp without an offset is interpreted in the workspace time zone.
For editorial questions without configuring a client, try the built-in Postbean Assistant. It can create drafts but doesn’t schedule or publish. If you’re setting up a new workspace for an integration, create a Postbean account and check Developers before writing your first request.
Related reading
Frequently asked questions
What's the difference between MCP and the REST API?
MCP gives a compatible assistant named Postbean tools. REST is for software that makes HTTP requests directly. Both authenticate with a Postbean API key.
Can the hosted MCP use a path on my computer?
No. Use the local stdio package to read a local path, or send the file through a supported URL or the REST upload flow.
Can I give an integration read-only access?
Yes. Select only the read scopes it needs, such as accounts:read and posts:read, when you create the key.
Where do I see developer access options?
Open Settings → Developers in Postbean to see the options for your account and create keys when access is available.